See final of what we have to cover in this tutorial.
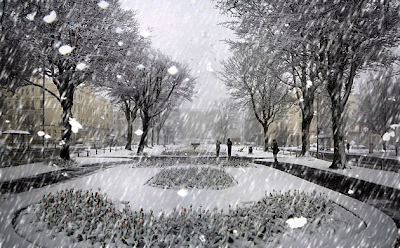 Open the picture of you want or alternatively open picture i use below.
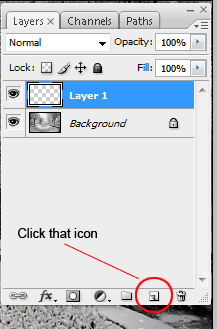
 Create a new layer by default the canvas have no change if you create a new layer but in the layer palette a new layer 1 is appear see below.
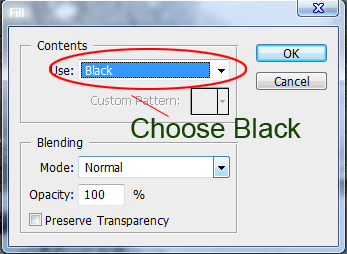
 In the next step the newly created layer is totally blank without color of it so fill some color of it by going Edit>> Fill the Fill dialog box appear in the Use drop down list choose the black color in this drop down list i will choose the color to fill .
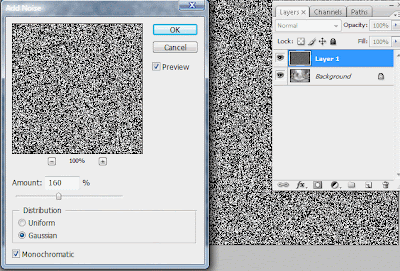
 Next add some Noise ( Amount: 160 ) Distribution to Gaussian and check the monochromatic.
It will add the noise to our newly created layer black and white only see below.
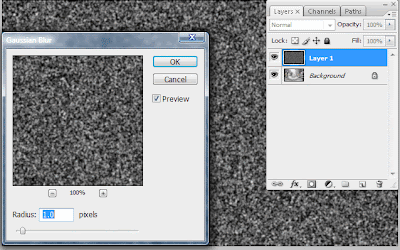
 Add a little blur of it by going Filter>> Blur>> Gaussian Blur the dialog box appear set its radius to (1.0) hit ok to apply it.
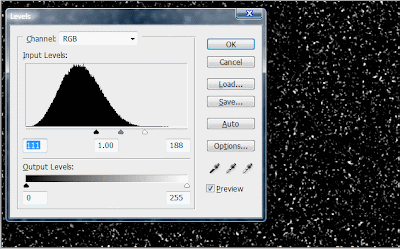
 The next step is to highlight the white spots in this case on your keyboard hit ( Ctrl + L ) to bring up the Levels Dialog box bring right and left slider to inward like shown below to clearing the whiteness of our snow.
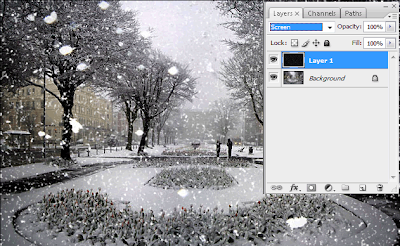
 Change the blending mode of (Layer1) to Screen it will totally disappearing the pure black only display the white area it is now like a realistic snow.
 Now add some angle to the snow falling for this purposes add the Motion Blur of it about angle ( 61 ) lower the distance ( 5 ) .
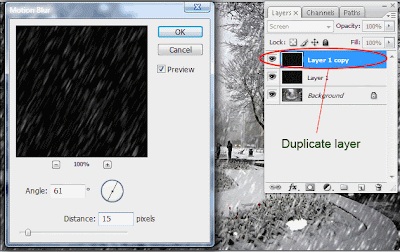
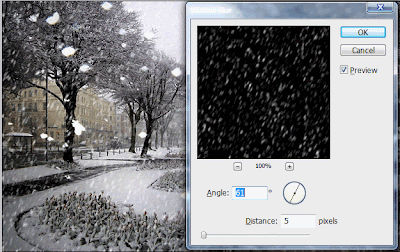 Now duplicate the upper layer add once more time Motion blur of it like the setting below.
 Finally merge down the layer see picture below Shortcut ( Ctrl + E ).
 Final is here.
0 comments:
Post a Comment
Hey readers, plz post comments related to topics only... :)