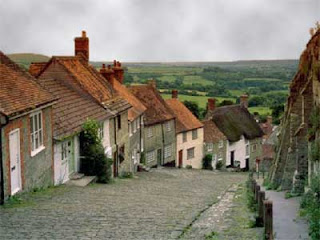
Step 1. Open the image in the photo editor.
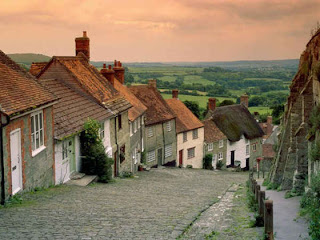 Step 2. First we will change the color of the sky. So let's select it. You can use any selection tool. In Adobe Photoshop the easiest way is to use Quick Mask mode
 Note that to select the sky in Quick Mask Mode we will have to mask everything but the sky because when we switch back to Standard Mode only unmarked areas will be selected.
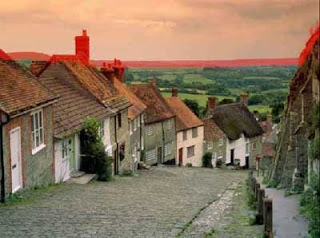 Activate the Paint Bucket tool and left-click on the area below the drawn border. This area will be highlighted in red. The border must be without space to prevent the highlighting of the whole image.
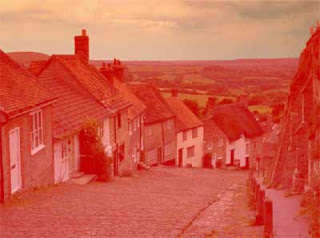 Switch to the Standard mode by clicking on
 Step 3. The sky is selected.
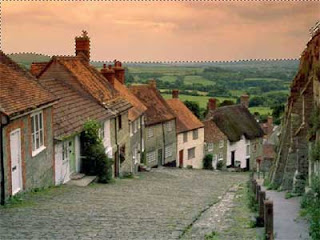
- Let's recolor it.
- Step 4. Press the button Set Foreground Color in the Toolbox and choose an appropriate tint of blue color in the Color Picker dialog box. Then press OK. Now press the button Set Background Color in the Toolbox and choose a white color. This is necessary to make the color of the sky look more natural.
- Step 5. In the menu of the photo editor choose FILTER->RENDER->Clouds. Here we have a new sky.
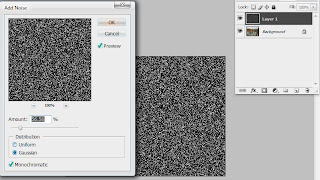
 Step 6. Create the new layer above the background fill it with black color. Go to Filter> Noise > Add Noise set the option you will better now.
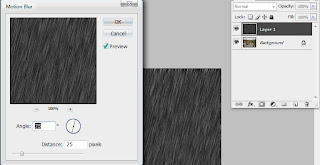
 Step 7. Now once again go to Filter > Blure > Motion Blur set it what direction rain you want.
 Step 8. In the Layer 1 in the layer palette to change its blending mode to Screen that's it.
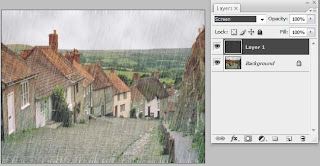 Final Result is Shown Below.
0 comments:
Post a Comment
Hey readers, plz post comments related to topics only... :)