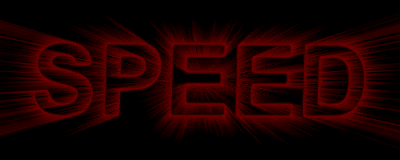
see first the final result of our tut.
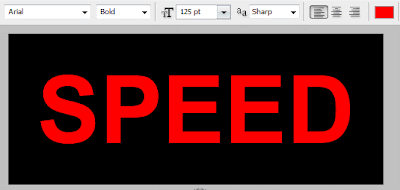
 1. First create blank canvas with black fill it inter the text Speed with Arial font selected and adjust the font size of (125 pt). Setting up like that Picture.
 2. Merge down the text to background to shrink it one layer only background apply the filter Go to the Filter> Blur > Gaussian Blur (1.0 to 2.0) set it.
3. Once again go to the Filter > stylize > Solarize this will change your text like that.
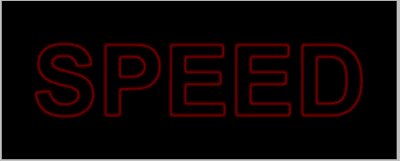 4. Apply the Filter go to Filter> Distort>Polar Coordinates box is pop up choose (Polar to Rectangle) then ok the apply it.
5. Rotate the image (CCW 90) and apply the Filter again in this time Filter> Stylize > Wind apply the value of from the left do that two times and rotate it back to original (CW 90) like shown.
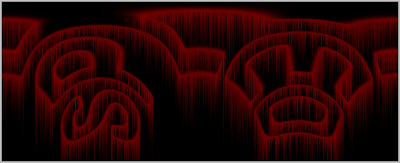 6. Now this time apply once again the filter of Polar Go to the Filter > Distort > Polar coordinates in the appeared box this time choose (Rectangular to Polar).
The Final is here.

This effect is dark but you can change it to lighten it some changing.
0 comments:
Post a Comment
Hey readers, plz post comments related to topics only... :)