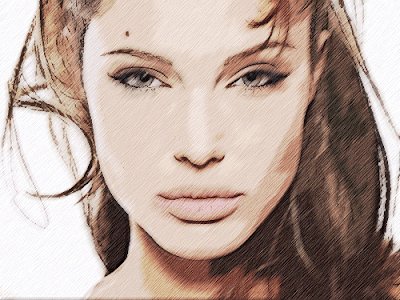
Final Result After this tut end.
 1. First open up the photo then in the layer palette right click the background layer choose duplicate the layer or press keyboard ( Ctrl + J ) either way.
2. Go to the Image >> Adjustments >> Desaturate ( Shift + Ctrl + U ) it will turn the duplicated layer into the black and white.
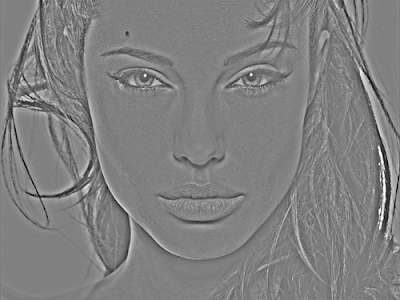
3. Go to the Filter >> Others >> High Pass the value of ( 4.0 ) will be batter like the photo shown below adjust it until you are happy about like that photo.
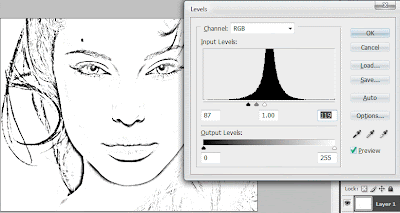
 4. On you keyboard hitting ( Ctrl + L ) it will pop's up the levels dialog box adjust it until you look the photo like a sketch. See the image below
 5. Down the opacity of the top layer about ( 50 to 60 ) near it and also change its blending mode normal to Overlay. The Photo looks like below
 6. Select the bottom layer apply the cutout filter to it Go to Filter >> Artistic >> Cut Out in the cutout dialog box choose drop down menu Cut out ( Number of levels - 7 , Edgy Simplicity - 0 , Edge Fidelity - 3 ) it looks something that
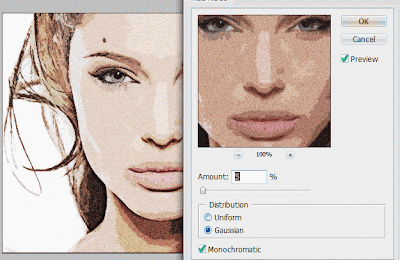
 7. Apply the noise filter in this case go to the ( Filter >> Add Noise Amount to 5 click the Gaussian and checked the Monochromatic ) like shown below.
 8. Add some motion blur in that case go to the ( Filter >> Blur >> Motion Blur Angle to 45 Distance to ( 10 - 15 ).
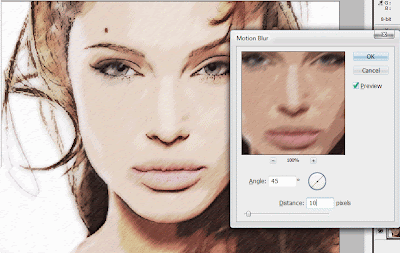 9. A little bit of sharping in the best of the photo so Go to the Filter>> Sharpen >> Sharpen repeat it twice for better sharpen area.
Here is the original .
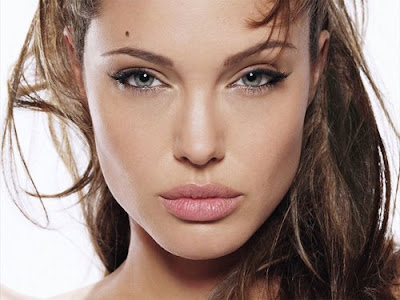 Here is the Final photo After the Effects are apply of it.
0 comments:
Post a Comment
Hey readers, plz post comments related to topics only... :)