Final Before After
 1. Select the quick mask mode tool in the lower of the toolbar palette pickup the brush of nice smooth 35 in my case but your photo like different in mine so choose the brush for your self.
 2. Select the photo all the face and neck but leave the area like shown below the photo like upper eye bro , moth , eyes .
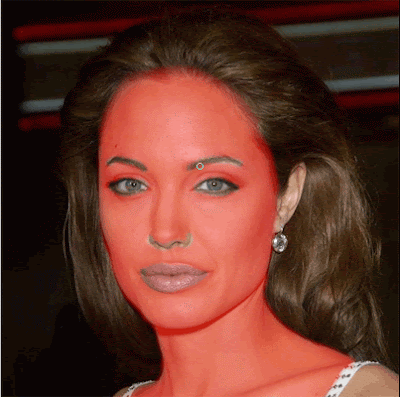 3. Hit again lower the toolbar of the quick mask mode or alternatively (Q) by default the selection of the quick mask mode is inverted mode select back to normal selection go to the Select >> Inverse ( Ctrl + Shift + I ) it reverse the selection.
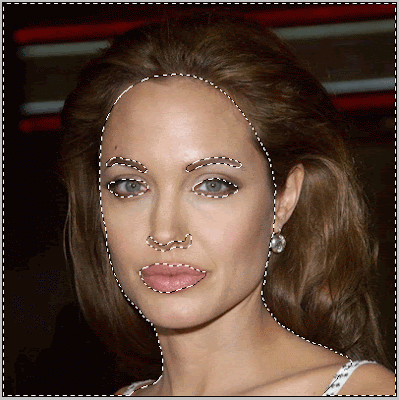 4. When the selection is inverted then hit (Ctrl + J) on the keyboard it will make the new layer from your selection.
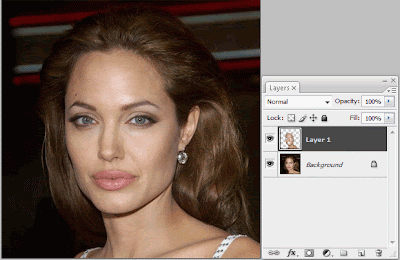 5. For purposes of the smooth skin we will apply the new created layer Gaussian Blur so go to the Filter >> Blur >> Gaussian Blur applying the setting in between the (3 - 4) it will be better for our photo.
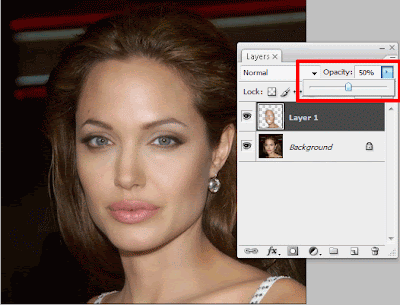
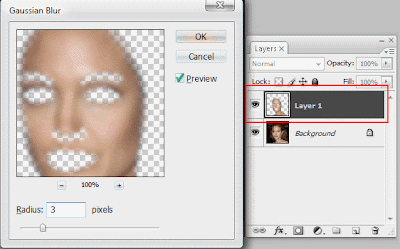 6. Finally the photo look too much smooth so low down the opacity of the new layer about ( 50%) now it should looks like good.
 7. Here is the final and original photos see the difference in between these effect like smooth skin.
 There is lot more method is left. Feel free to play with photo shop's filter.
0 comments:
Post a Comment
Hey readers, plz post comments related to topics only... :)